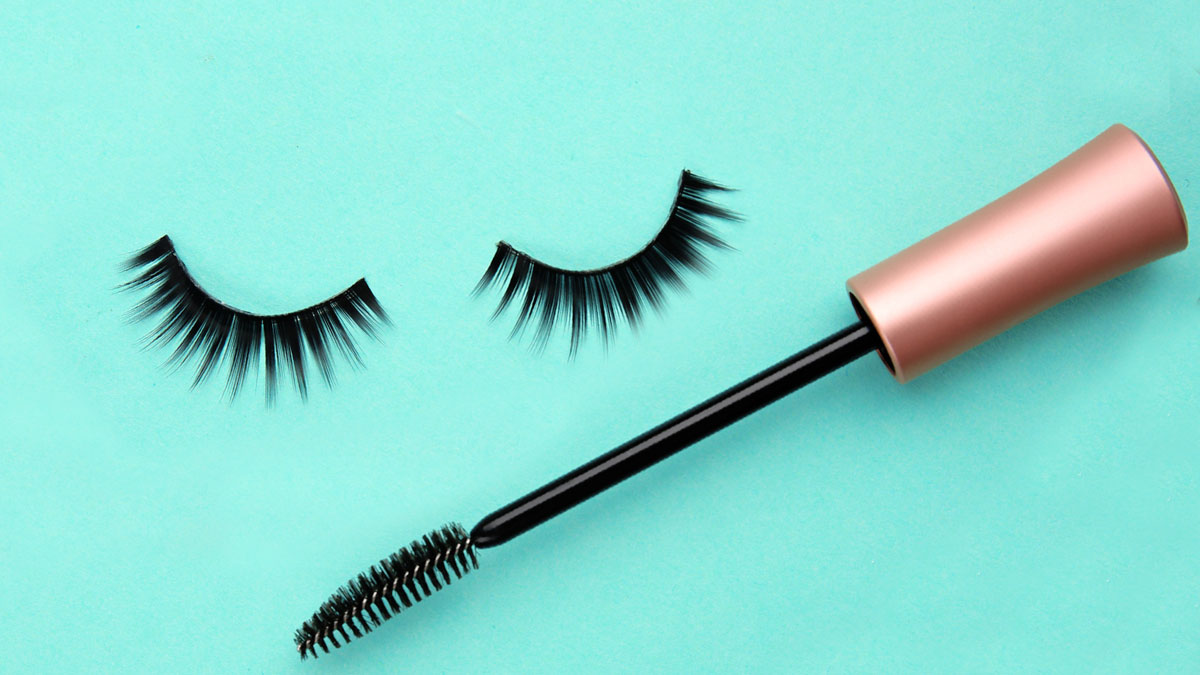
When lash extensions and lifts aren't in the budget, your next best option is a set of really good false eyelashes. Because nothing distracts from mediocre makeup (or breakouts, or a bad hair day, or literally anything else) like a set of voluminous falsies.
The only downside? They suck to apply. And because they don't really come with the most helpful of instructions—and, more importantly, because they're just straight-up hard—I've put together the ultimate guide to applying false lashes, ahead, so you'll never get stuck in a glue-y mess again.
-
Pick the right lashes.
Because looking at a wall of false eyelashes can be v intimidating, let me break it down for you, starting with the two main types of lashes: strips and individuals.
STRIPS
If you're looking for the easiest, quickest option, go with a classic, traditional lash strip, which will cover your entire lash line in one application. These lashes tend to be pre-styled (i.e. wispy and natural, or super thick, or extra curled, etc.), so when choosing your strip, take into consideration the occasion, the vibe you're going for, and the shape you want to create.
ADVERTISMENT - CONTINUE READING BELOW ↓INDIVIDUALS
Also known as "singles," individual lashes are the best option for someone who is going for a more natural, less intense look, since each tiny cluster of lashes is applied one by one. Because you have to glue and stick each cluster by hand, you're looking at intermediate- or expert-level territory, here.
-
Trim and shape them.
To get the most seamless lash finish, you'll need to do a little prep, first, to customize your lashes for your eye shape. Yes, it's a bit of work, but it's worth it for a realistic look.
STRIPS
Not everyone's eyes are the same size, obvs, so if you're working with strips, you’ll likely need to trim down the sides a bit to fit the length of your eye. Don't skip this step, or trust me: They'll poke the shit out of your eye all night. To size them, compare the lash strip against your own lash line to figure out how much to take off from either end, then snip them with scissors.
Hack :Make cheap lashes look luxe by fluffing them with a spoolie brush, first.CONTINUE READING BELOW ↓watch nowINDIVIDUALS
If you chose individuals, you are a lash master, and I applaud you. Now you just need to come up with a plan for how you'd like to shape them. Since individuals come in varying lengths and thicknesses, you can get a realistic finish by using two different lengths along your lash line, keeping the longest lashes on the outer corners.
-
Apply the glue.
Little known fact: You need to pick your glue based on whether you chose to use strips or individuals. Adhesive for strips is a little more flexible, whereas the glue for individuals has a stronger hold. As for color? Pick black glue if you're wearing mascara, eyeliner, or eyeshadow, and go for a clear glue if you're doing a no-makeup look.
STRIPS
Trace a thin line of glue across the lash band, making sure to apply a little extra to the very ends, since they tend to spring up and break loose first. Wait for the glue to set for 30 seconds or until it's tacky (not too wet, and not too dry). This is crucial for getting the lashes to securely stick on the first try without getting glue all over your eyelid.
ADVERTISMENT - CONTINUE READING BELOW ↓INDIVIDUALS
Place a droplet of glue on the back of your hand, wait 30 seconds for the glue to get a little tacky, then use tweezers to dip the tip of the lash cluster in the glue. Allow the adhesive to set for a few seconds on the lashes.
-
Place them.
Listen, the success rate of nailing the placement of false lashes on the first go is about the same as drawing a perfect cat-eye the first time, so be patient with yourself, and give yourself a good 20 minutes to get the hang of it.
STRIPS
First, tilt your mirror back a bit, so instead of looking straight ahead, you're looking slightly downward. (If you're standing in front of the mirror, try tilting your head back a bit, instead). With your eyelid lowered, but not closed (squinting or closing your eye could glue it shut), use your fingers or tweezers to align the center of the strip with the middle of your own lash line. Gently press down on the middle, then press the ends to the inner and outer corners of your eye until secure.
ADVERTISMENT - CONTINUE READING BELOW ↓INDIVIDUALS
Though using tweezers is optional for strip lashes, they're an actual life saver for applying individuals. Once you have the tip of the lashes dipped in glue, nestle and press the cluster into your lash line. Continue dipping, nestling, and pressing the lash clusters along the gaps of your lash line to beef them up. Regardless of which type of lashes you choose, finish off the look with a coat of mascara to blend your natural and fake lashes together. And there you have it: false lashes that look so damn good, they could be your own.
***
This article originally appeared on Cosmopolitan.com. Minor edits have been made by the Cosmo.ph editors.