Nothing says “You nailed it!” better than actually having a set of perfectly manicured (and pedicured!) nails. right? However, while nail care is essentially a feminine domain, it doesn’t mean we know all there is to learn about nail products by heart. For nail salon regulars, this may not be necessary unless specific treatments and designs are involved so you understand what you’re paying for. But what if you’re a novice or a budding nail art enthusiast?
With a wide selection of nail products sprouting in the market, it can get confusing to name which items to put into your cart. Also, using them the right way is another story. Good thing for you, you’ll never have to figure it out alone. We’ve covered in this guide the basics of nail products, how they work, and how to use them properly. By the time you’ve finished reading, you’ll be all set to explore endless nail art design possibilities that add an “oomph” to any outfit.
What are Nail Products?
Nail products encompass a wide range of formulations and tools designed to beautify, protect, and strengthen nails. They include:
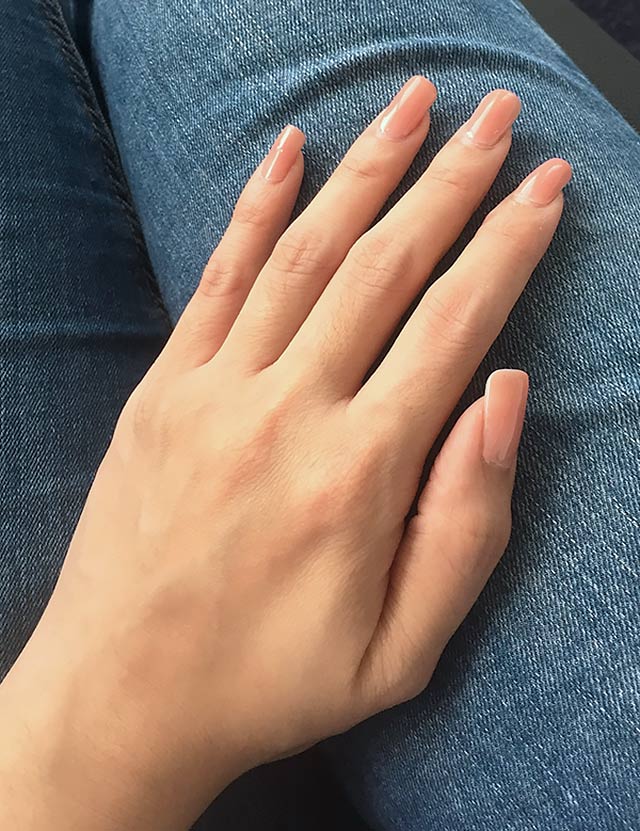
- Nail Polish. Your nail’s crowning glory. Basically, it’s a paint specially formulated for the nails that comes in a variety of colors and finishes.
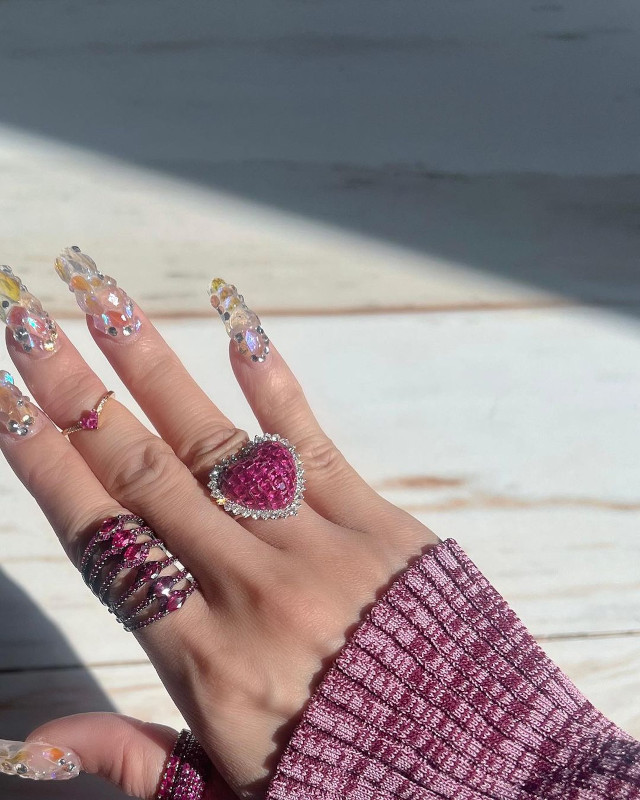
- Nail Extensions. These are artificial enhancements for lengthening and adding volume to your natural nails.
- Nail Designs. These are the “bells and whistles” typically added for artistic expressions using patterns and embellishments on nails.
- Acrylic Nails. Popular with Instagram influencers, this type of nail extension is known for its durability which can last for weeks or months at most.
- Gel Nails. These are the new generation of nail polish that has a glossy, long-lasting finish. Gel nails are gentler on your natural nails compared to acrylics.
- Nail Hardener. This solution is applied over nail polish to strengthen and protect your weak, brittle nails.
How Nail Products Work
They may share the word “nail” in their description, yet each nail product serves a specific purpose and works differently. These products encompass a vast array of formulations designed to enhance the appearance, strength, and health of nails. The way these products work can vary significantly based on their intended purpose and ingredients.
Nail Product Variations
Nail Polish
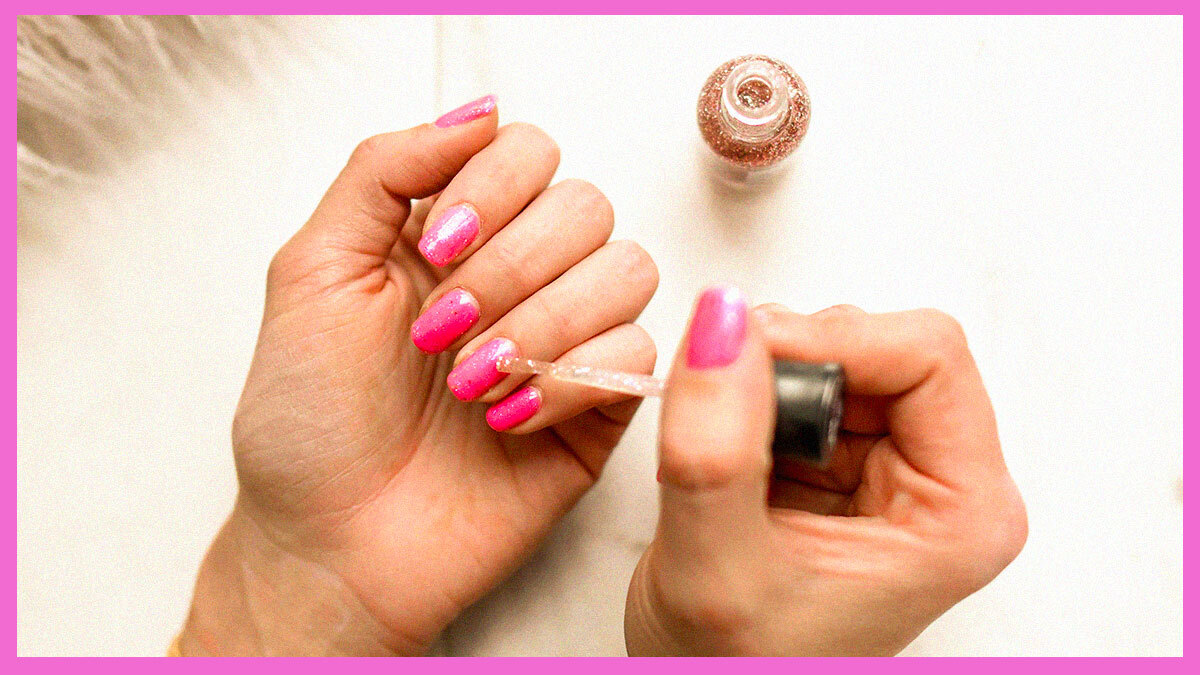
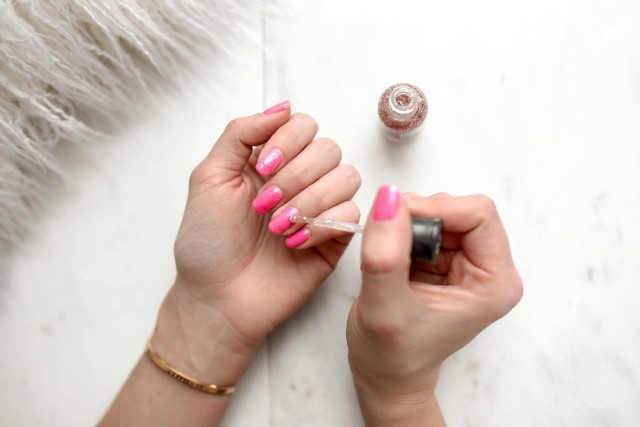
In nail care lingo, nail polish refers to the “paint” or liquid formulation applied to your fingernails or toenails to decorate and protect the nail plates. The formula typically consists of a pigment suspended in a solvent, added by plasticizers, resins, and film-formers that help it adhere to your nail and resist chipping. From basic color-wheel hues, nail polishes have evolved into a variety of colors and finishes, from matte, glossy, and pearl to glitter and metallic.
How to Use
- Start with clean, dry nails. Remove any old polish and wash your hands thoroughly. Push back your cuticles and trim, file, and buff the nails to your desired shape.
- Apply a base coat to protect your nail from staining, improve polish adhesion, and prevent chipping. Allow it to dry completely.
- Shake the nail polish bottle to mix the pigments evenly. Apply the polish in thin, even strokes, starting from the base of your nail and working towards the tip. Begin with a stroke down the middle, then one on each side. Avoid getting polish on your cuticles if you want a “clean” look.
- Once the first coat is dry, apply a second coat for more vivid color and coverage.
Finish with a clear top coat to seal in color, add shine, and extend the life of your manicure. - Allow your nails to dry completely. This can take anywhere from 20 minutes to an hour, depending on the polish and the thickness of the layers. Make sure you don’t accidentally snag them on any surface while drying to avoid ruining the application.
Maintenance/Storage
- Store your nail polish in a cool, dark place to prevent the formula from thickening and the pigments from separating or fading.
- Keep bottles closed tightly. This prevents the solvent from evaporating, which can thicken the polish and make it difficult for you to apply.
- If a polish does become thick, use a few drops of nail polish thinner to restore its consistency. Avoid using nail polish remover to thin the formula out, as it can compromise the texture and product quality.
- Most nail polishes can last for years if stored properly, though the formula may start to degrade after one to two years. If the polish separates, changes color, or develops an odd smell, it's time to replace it.
Tips
- Nail polish can look different in the bottle than it does on your nails. Test the color on a single nail or a clear tape over your nail to see how it truly looks.
- To speed up drying time, dip your nails in cold water or use a quick-dry top coat or spray.
- Use a small brush dipped in nail polish remover to clean up any polish on the cuticles or skin around the nails for a professional-looking finish.
- Experiment with layering different colors or finishes (like a glitter top coat over a matte base) for unique effects.
Nail Extension
Want claw-like length without the pain of accidentally breaking your natural nail plate? Nail extensions are your best bet! These are artificial enhancements placed over the natural nails to elongate and strengthen them. They come in various materials including acrylic, gel, fiberglass, and recently, silk.
Each type offers different benefits and aesthetics, allowing you to try different looks from natural to dramatic. The extensions are typically applied by a professional in a salon, but at-home kits have also become available for those with the necessary skills.
How to Use
- Begin with clean, dry, and buffed nails. This ensures that any oils or residue that could interfere with adhesion are removed. Push back and trim your cuticles for a neat appearance and better adhesion at the nail bed.
- Decide on the type of nail extension you want. Acrylic and gel are the most popular due to their durability and versatility in design.
- Get ready for application. For acrylic nails, a mixture of a liquid monomer and a powder polymer is applied to the nail and shaped before it hardens. Meanwhile, gel nails involve applying a gel polish over your nail and extension, then curing it under a UV or LED lamp.
- Once the material has set, you can finally file and shape your nail extensions to the desired length and form. You may also add a top coat for extra shine and protection.
Maintenance/Storage
- As your natural nails grow, gaps will appear at the base of the extensions. Unless you’re a skilled nail technician, you may need to visit a salon every two to three weeks for retouch or "fills" to maintain their appearance and prevent lifting.
- Wear gloves when cleaning or using chemicals to prevent damage to your nail extensions.
- Keep your cuticles and hands moisturized to support nail health. Also, avoid getting moisturizer directly under the extensions as it can cause lifting.
- Always have your nail extensions professionally removed to prevent damage to your natural nails.
Tips
- Avoid using your nail extensions as tools to pry or pick at things, as this can cause them to lift or break. Don’t attempt to open a soda can with your nails or grab stuff through the force from your nails.
- Keep the area under and around your nail extensions clean to prevent infections. Well-painted nails shouldn’t cover up bacteria underneath them.
- Consider taking breaks between applications to allow your natural nails to breathe and recover.
- Use high-quality nail care products to maintain the health of your natural nails underneath the extensions. This helps you avoid irritation or discomfort while wearing them.
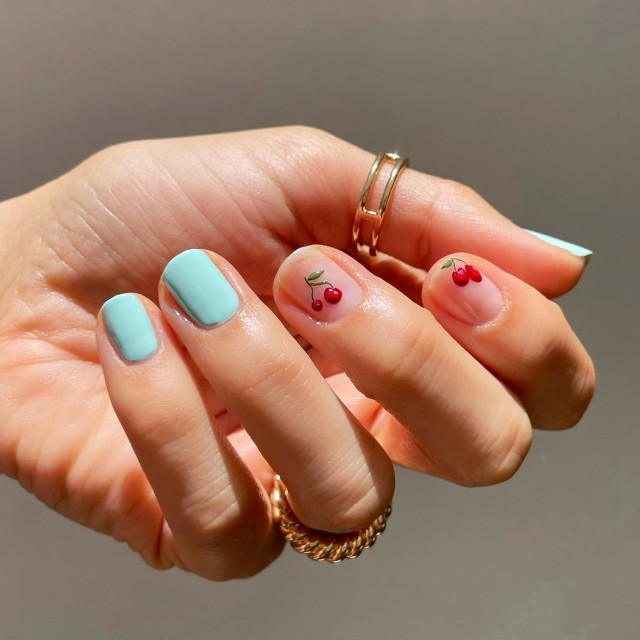
Nail Designs
Nail designs can take on a variety of techniques and styles used to decorate nails. This can include everything from simple painted patterns and decals to advanced techniques like stamping, airbrushing, and the use of accessories like gems, stickers, and foils. What makes nail designs exciting and challenging is that they allow you to personalize your manicure and pedicure according to your unique style (or mood! Yes, they exist.).
How to Use
- Start with clean, shaped, and buffed nails. Apply a base coat to protect your nails and ensure a smooth canvas for your design.
- Decide on the design you want to create. Consider starting with simpler designs if you're new to nail art.
- Based on your chosen design, gather all necessary materials such as nail polish, brushes, dotting tools, stamps, decals, or any other embellishments.
- For freehand designs, use a thin brush to paint patterns onto your nails. Steady hands and patience are key.
- If you want to try stamping, begin by applying nail polish to a stamping plate. Scrape off the excess, press a stamper onto the design, then roll it onto your nail.
- For decals and stickers, apply them directly to the nail as per the instructions. Often, they might require a top coat to seal them in place.
- When adding embellishments, use a small dot of nail glue or clear polish to adhere gems or foils to your nails.
- Once your design is complete and dry, apply a top coat to protect your nail art and add shine to the finishing touches.
Maintenance/Storage
- Wear gloves when performing tasks that could damage your nail designs, such as cleaning.
- Apply a fresh top coat every few days to maintain the shine and prolong the life of your nail designs.
- Keep your nail art materials, like polishes and tools, in a cool, dry place to prevent them from deteriorating.
Tips
- Don't be discouraged by mistakes. Practice different techniques and designs on a nail wheel or practice sheet before applying them to your nails.
- Begin with easier designs and gradually work your way up to more complex patterns as your skills improve.
- Look for design ideas on social media, nail art blogs, or magazines for inspiration.
Don't be afraid to modify designs to suit your taste or experiment with different color combinations. - Regularly moisturize your hands and cuticles to keep them looking neat and to provide a beautiful backdrop for your nail designs.
Acrylic Nails
Acrylic nails are a type of artificial nail enhancement known for their durability and strength. They are created by mixing a liquid monomer and a powder polymer, which forms a hard protective layer over your natural nail when applied and exposed to air. With skilled hands, acrylic nails can be shaped and painted like natural nails (and you won’t be able to tell them apart!), making them a popular choice for extending nail length and achieving various nail art designs.
How to Use
- Ensure your nails are clean, dry, and free of any polish. Push back and trim your cuticles for a better fit and appearance.
- Apply a nail primer to your natural nails to improve the adhesion of the acrylic.
- Dip a brush into the liquid monomer and then into the powder polymer to create a small bead of acrylic.
- Apply the acrylic bead to the nail and spread it evenly, shaping it as it begins to harden.
- Once the acrylic has hardened, shape the nails with a file and smooth the surface with a buffer.
- Apply your desired nail polish or design for finishing touches.
Maintenance/Storage
- As your natural nails grow, a gap will form at the base of the acrylic nails. You may need to visit a salon every two to three weeks for fills, or you can do it by yourself using the right equipment and ensuring careful application.
- Prolonged exposure to water can cause the acrylic to lift from the natural nail. Wear gloves whenever possible.
- Keep the acrylic liquid and powder in a cool, dry place away from direct sunlight.
Tips
- Take breaks between acrylic applications to allow your natural nails to recover. You won’t probably need to be all glammed up the entire time, especially when you’re at home.
- Use cuticle oil and hand cream regularly to keep your nails and cuticles hydrated.
- Have acrylic nails removed by a professional to minimize damage to the natural nails. It may take a few tries to do this yourself, so it’s best to observe how it is done first.
Gel Nails
Gel nails are a type of artificial nail enhancement that offers you a glossy, durable finish. Unlike acrylics, gel nail products are applied as a liquid and then cured under a UV or LED lamp, creating a hard, protective coating. Gel nails can add length when used with extensions or to strengthen and beautify your natural nails.
How to Use
- Clean and dry your nails. Push back and trim your cuticles to prepare for gel application.
- Apply a thin base coat and cure them under your UV/LED lamp as directed. Make sure to apply the gel polish in thin layers, curing each layer under the lamp instead of a one-time big-time coating that might be heavy on your natural nails.
- Finish with a top coat and cure for a glossy finish.
- Apply cuticle oil to hydrate the skin around your nails.
Maintenance/Storage
- Gel nails typically last two to three weeks. Hence, regular maintenance appointments are necessary to fill in growth or repair any chips on your nails.
- Store gel polish away from direct sunlight, as UV rays can initiate the curing process and thicken the polish formula.
- Keep your nails and cuticles moisturized to support overall nail health.
Tips
- Soak-off gel nails can be removed by soaking them in acetone. No matter how tempting, you should avoid peeling or ripping the gel off to prevent damage to your natural nail bed.
- Wear gloves during activities that may cause chipping or wear.
- Give your nails a break from gel polish occasionally to allow them to breathe and recover.
Nail Hardener
Nail hardeners are specialized formulations designed to strengthen and harden natural nails. They are particularly beneficial for weak, brittle, or splitting nails. Nail hardeners can be used as your base coat or as a standalone treatment.
How to Use
- Start with clean, dry nails free of any polish or oil.
- Apply one coat of nail hardener onto your nails. Some formulas may be used as a base coat under nail polish.
- Apply the hardener regularly as directed by the product. This may be daily or weekly.
Maintenance/Storage
- Store nail hardeners in a cool, dry place to maintain their effectiveness.
- Ensure the cap is tightly closed after each use to prevent the formula from thickening.
Tips
- Each nail hardener may have specific instructions for use and frequency of application. Make sure to follow the product's guidelines for best results.
- Support nail health from within by maintaining a diet rich in vitamins and minerals. This way, you may not need to rely too much on nail products to flaunt healthy fingertips.
- Avoid using your nails as tools, as this can cause damage and counteract the strengthening effects of the hardener.
Frequently Asked Questions
How can I prevent nail breakage?
Keep your nails moisturized, avoid using them as tools, and maintain a healthy diet.
How do I remove gel nail polish at home?
Soak cotton pads in acetone, place them on your nails, wrap them with aluminum foil, and leave for 10 to 15 minutes before gently pushing off the polish.
What causes yellow nails and how can I prevent it?
Frequent use of dark polish or smoking results in the yellowing of nails. Use a base coat and give your nails breaks between polishes.
How can I care for my cuticles?
Moisturize regularly and gently push your cuticles back instead of cutting.
What can I do to promote nail growth?
Keep your nails moisturized, avoid harsh chemicals, and consume a diet rich in vitamins and minerals.